I use github actions as it is pretty powerful and simple.
Important: If you use enterprise github you need a self-hosted runner which needs to be installed on a VM github.com does not need this
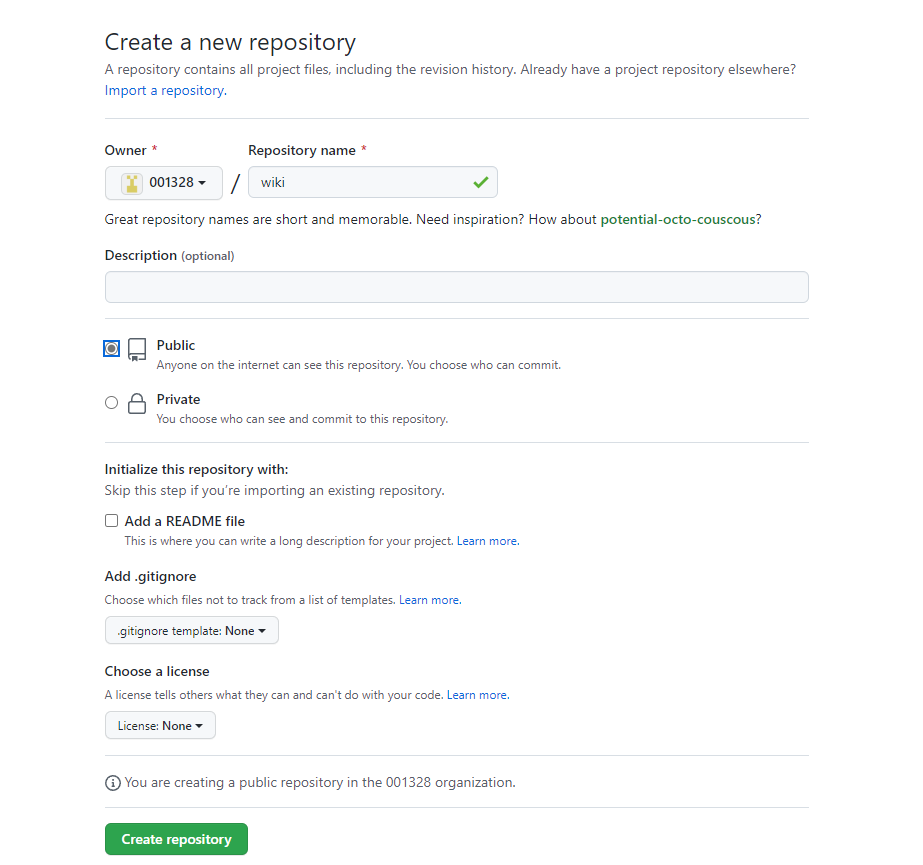
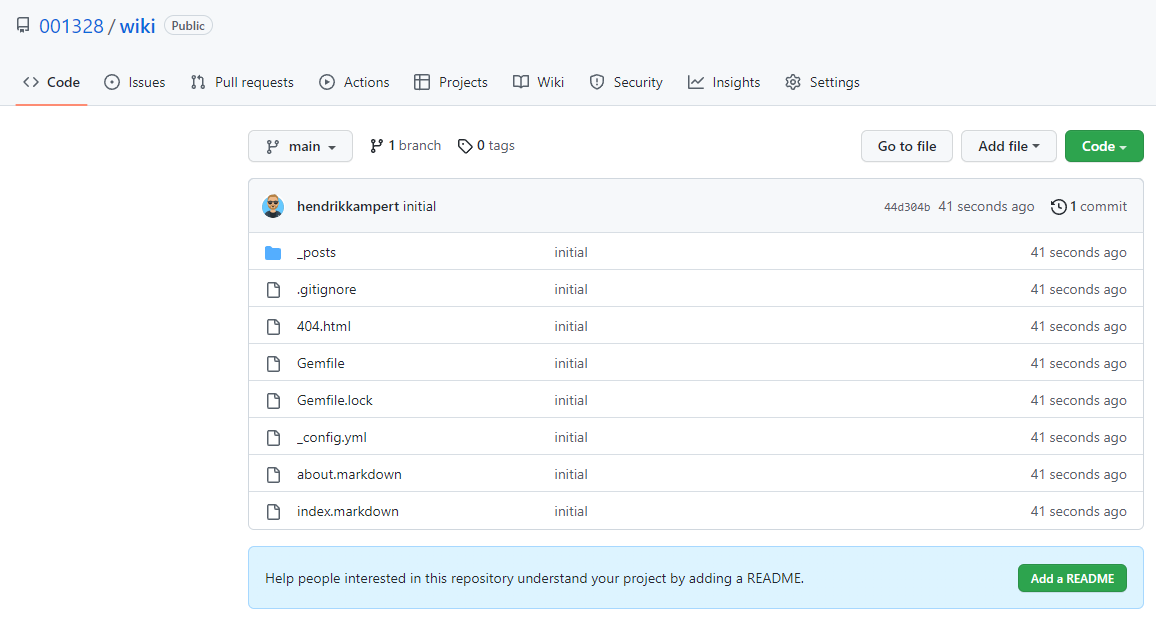
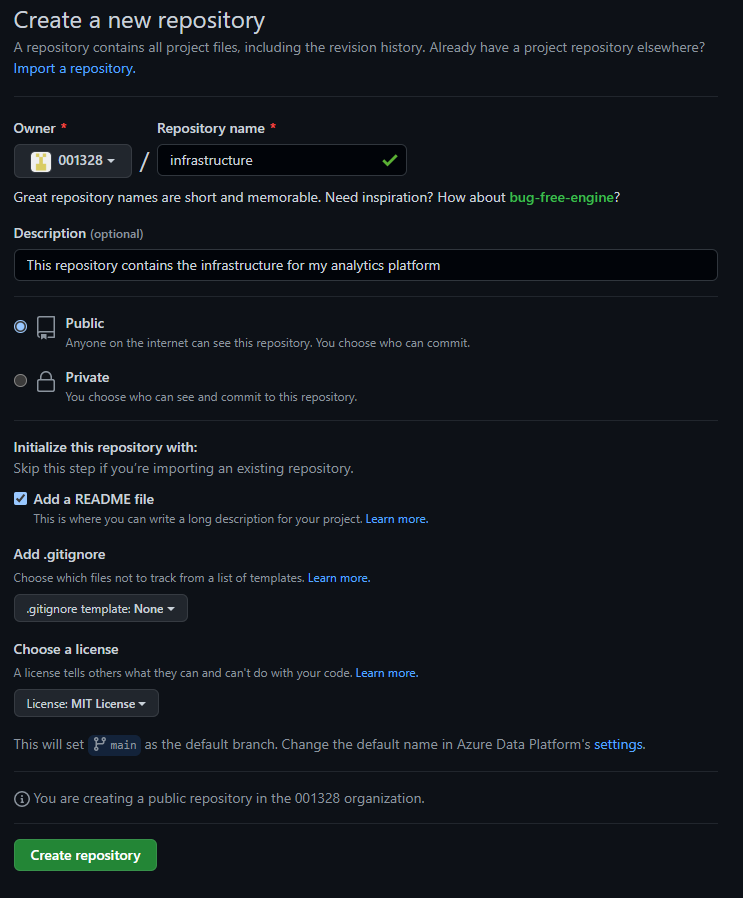
Initialize a new repository
First, create a new repository called infrastructure.
I created it as a public repository so anyone can clone it and deploy my infrastructure to play around with it.
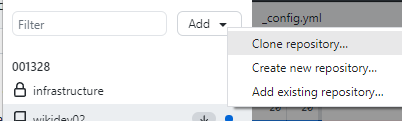
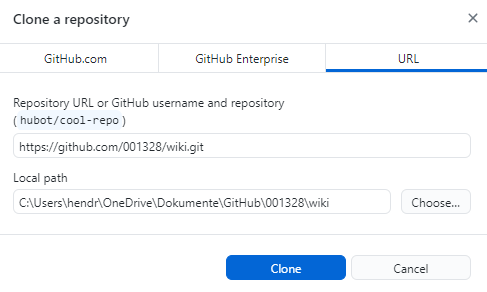
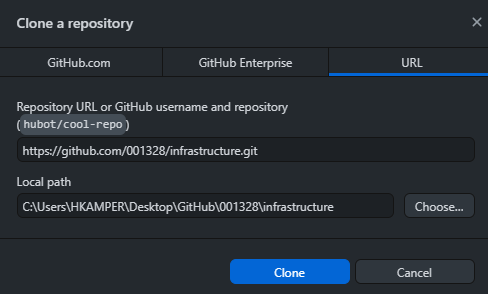
clone repository
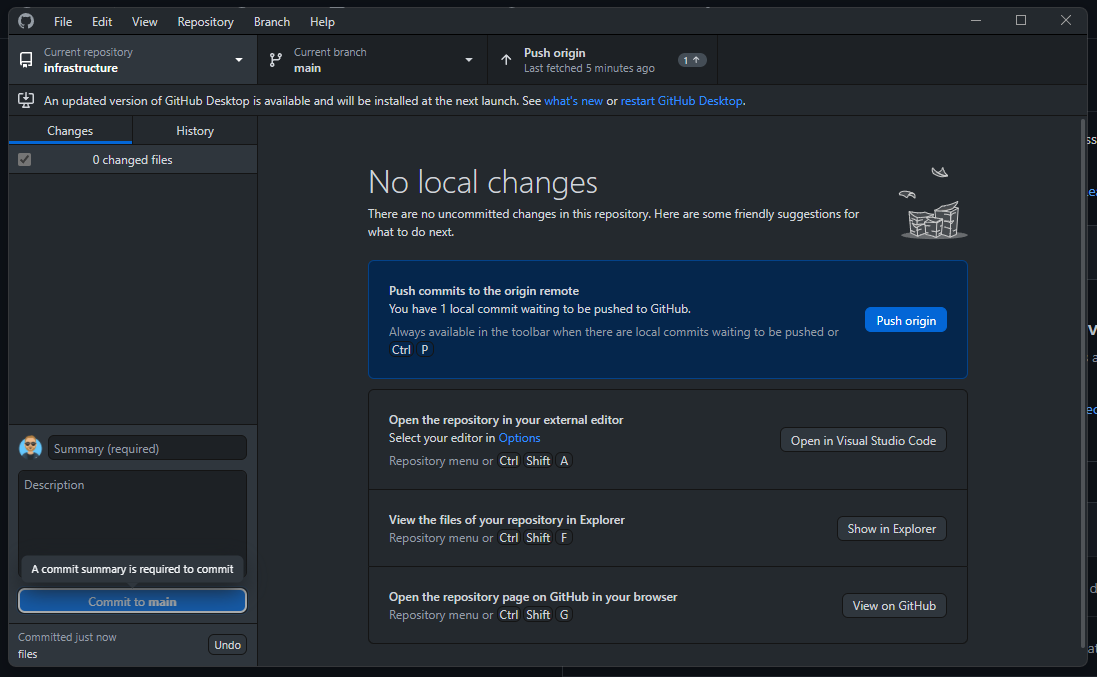
Now clone the folder to your local computer.
Go to Code, then copy the link. Now go to your GitHub Desktop and Add the repository to the root folder - 001328 in my case.
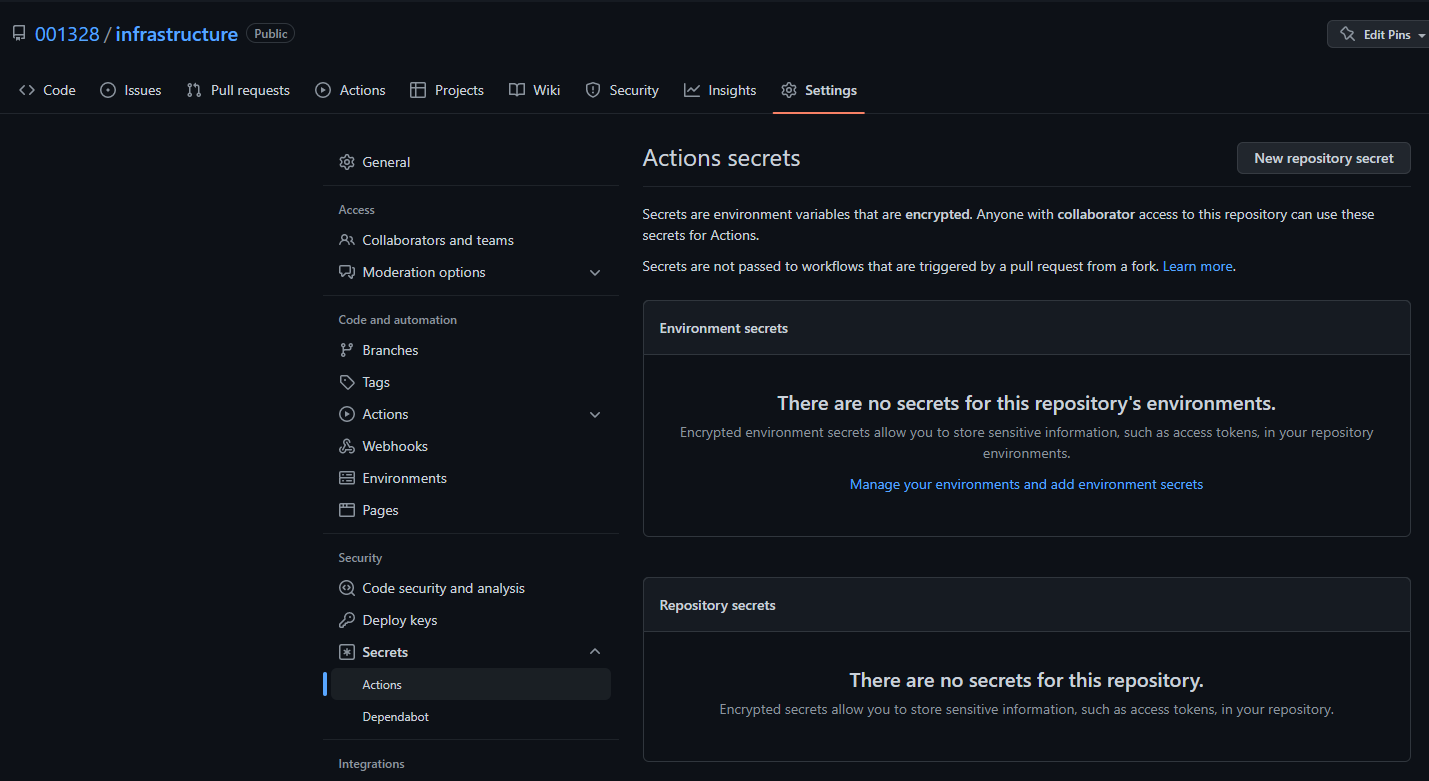
set up credentials
The next step is to set up the azure credentials we will need to deploy anything into our azure subscription. We do this via GitHub Secrets.
Secrets are environment variables that are encrypted. Anyone with collaborator access to this repository can use these secrets for Actions. Secrets are not passed to workflows that are triggered by a pull request from a fork. Learn more.
Let’s start with adding three secrets.
- subscriptionid
- azurelogincreds
- resourcegroupname
All secrets we use for now are repository secrets. Later on we will add multiple environments and change the secrets to reflect these changes.
To start, go to the Tab Settings and then you will find Secrets in the Navigation pane on the left. Here, select Actions.
subscriptionid
First we will start with a subscriptionid.
Open the azure portal and search for subscriptions in the search bar on top.

From here either select the subscription you want to use or create a new one if it is empty. Copy the Subscription ID, it should have this format xxxxxxxx-xxxx-xxxx-xxxx-xxxxxxxxxxxx.
Switch back to the github tab and add a new repository secret via the button.

Then add the Subscription ID as the VAlue and give it a name you like.
I always use lowercaps without hyphens, underscores or other funky stuff as different tools sometimes don’t like it and this way I can keep it consistent! Also no numbers at the beginning or end Here it doesn’t matter as GitHub transforms your secret in UPPERCAPS anyways
And you are done!

Please note that nobody can see this secret again so make sure to save it in your password safe of choice
You can only update the secret, if you do then you have to re-enter it and save again!
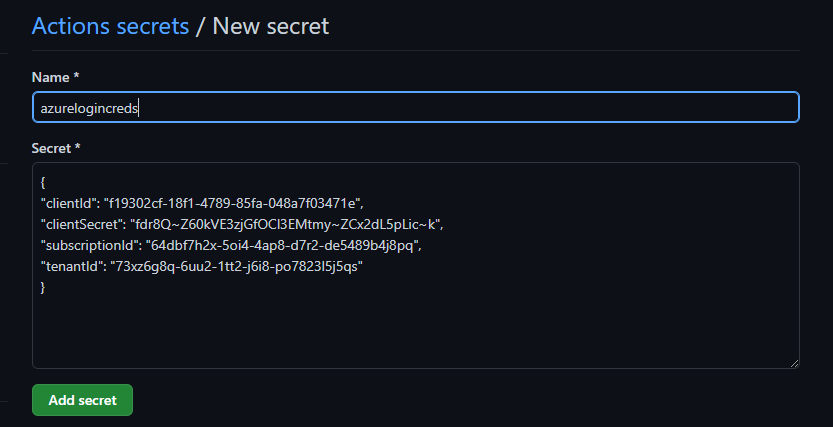
azurelogincreds
The next secret we add are azurelogincreds.
These are the azure login credentials GitHub uses login to azure and create resources. To do this it uses a Service Principal which we will create before.
The azure login credentials have this format:
{ “clientId”: “xxxxxxxx-xxxx-xxxx-xxxx-xxxxxxxxxxxx”, “clientSecret”: “xxxxxxxxxxxx”, “subscriptionId”: “xxxxxxxx-xxxx-xxxx-xxxx-xxxxxxxxxxxx”, “tenantId”: “xxxxxxxx-xxxx-xxxx-xxxx-xxxxxxxxxxxx” }
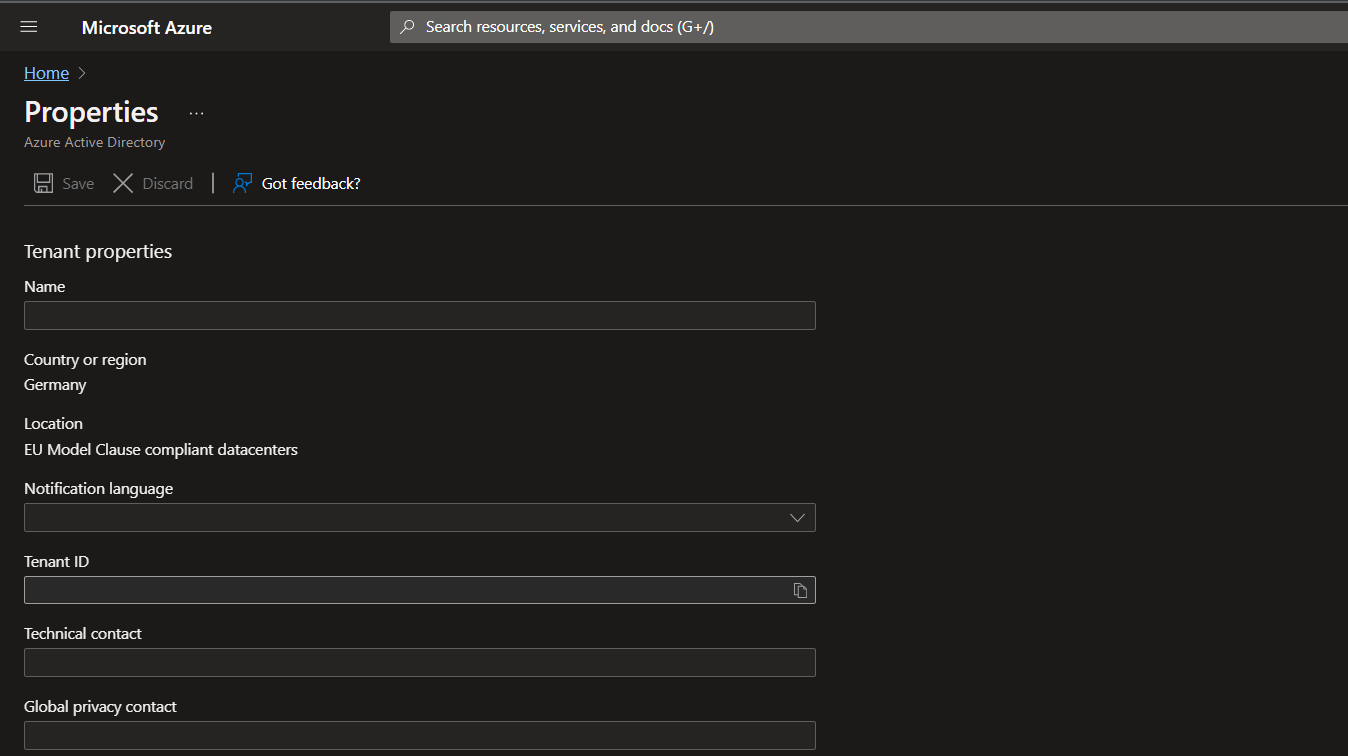
We already have the subscriptionId and you can find the tenantId by searching for tenant properties in the azure search bar (just like you did for the Subscription ID).

In the properties you can copy the Tenant ID by selecting the little Icon next to the ID.
Next step: Get a clientId and the clientSecret. This is a Service Principal.
Service Principal setup
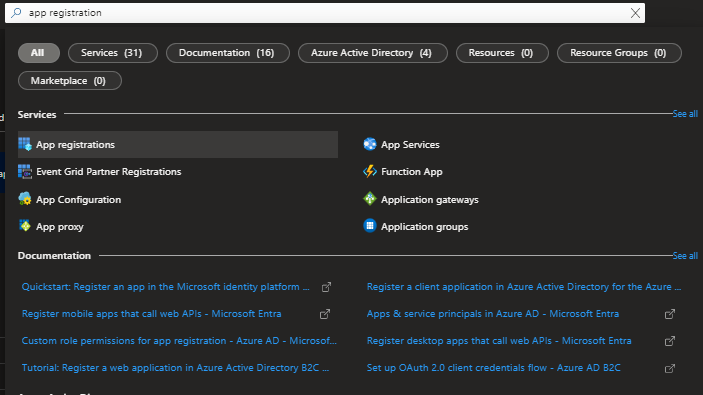
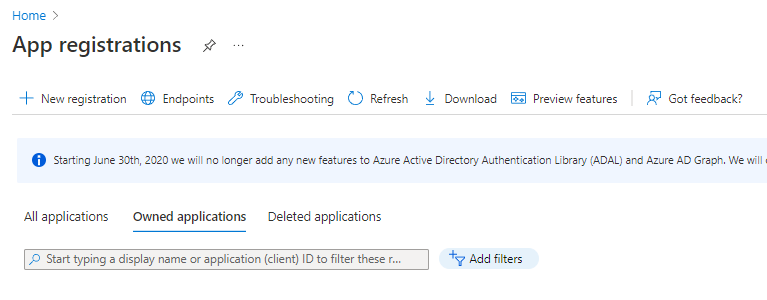
- Search for App registrations
- select New registration
-
give it a good name and select Register

-
select Certificates & secrets on the left blade, then select New client secret

-
choose a good name, an expiration date (good habits for security) and add the secret

-
save the value in a secure location (like Keepass - yes, notepad++ - no). You can only see the value one time.

-
go to the Overview and you can copy the client ID
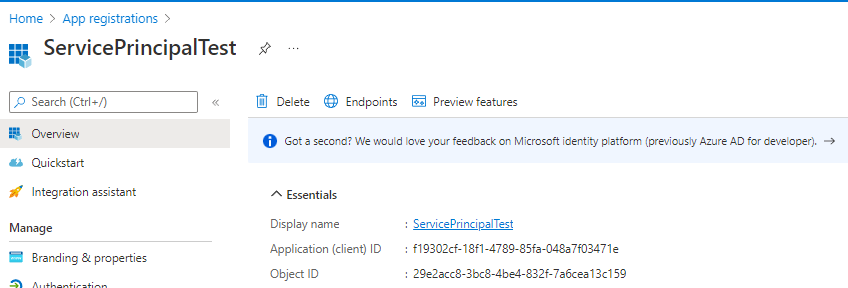
Now we have everything we need to complete the azure login credentials! Here is an example how it should look like (subscriptionId and tenantId are randomized):
{
"clientId": "f19302cf-18f1-4789-85fa-048a7f03471e",
"clientSecret": "fdr8Q~Z60kVE3zjGfOCl3EMtmy~ZCx2dL5pLic~k",
"subscriptionId": "64dbf7h2x-5oi4-4ap8-d7r2-de5489b4j8pq",
"tenantId": "73xz6g8q-6uu2-1tt2-j6i8-po7823l5j5qs"
}
In case you work for a bigger Enterprise you will see an Access denied. Then you need to set up the service principal through an alternative route, please talk to your network team to do so. The company I work for has a separate tool to create anything in the Active Directory and I need a dedicated admin user to create a client secret.
- Go back to the Settings in your GitHub Repository and select New repository secret
Whatever you will deploy now will be deployed to the Tenant and Subscription you entered. For multiple Environments I recommend to have one secret each.
- azurelogincreds_dev
- azurelogincreds_test
- azurelogincreds_prod
I need to give permissions to the service principal I suppose
Done with the preparation!
Next step: Deploy a resource group
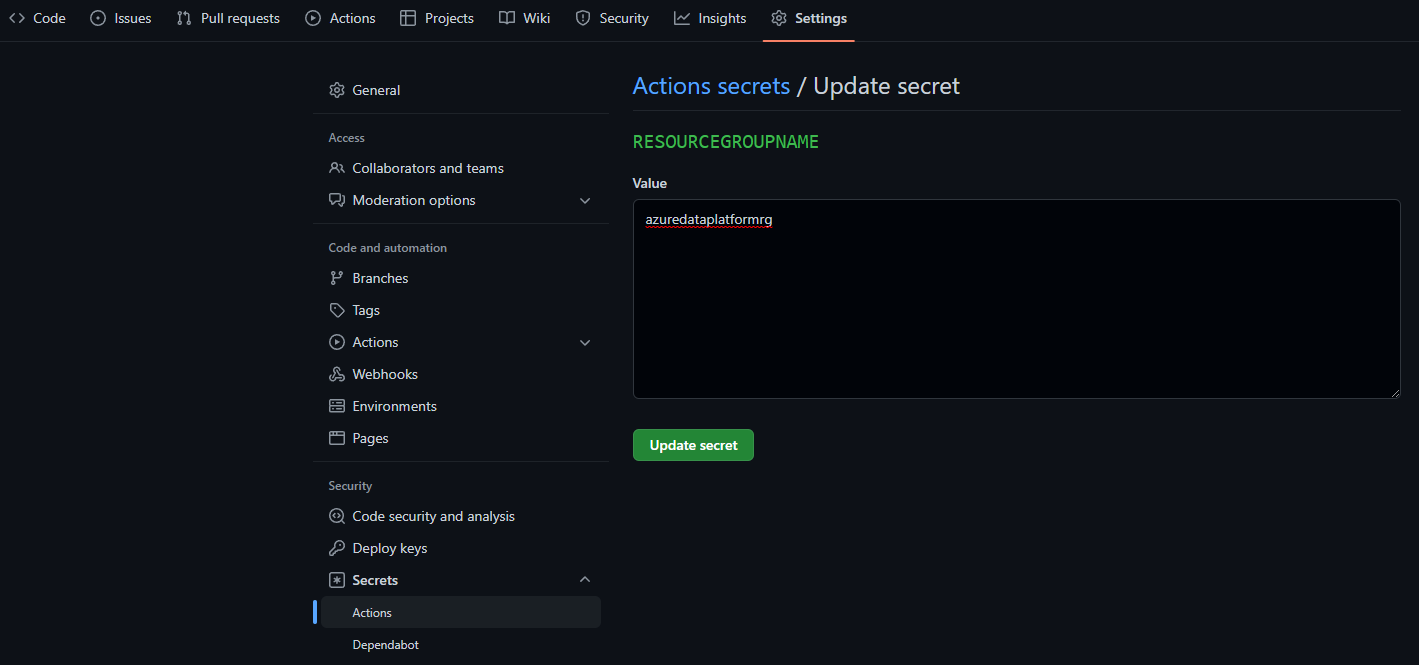
Secret: resourcegroupname
First, add another secret for the name of your resource group
- Select New repository secret within Settings/Secrets/Actions
- Enter the name you want to give your resource group and select Add secret
Note: I recommend to follow the recommended abbreviations for Azure resource types I use lowercaps without hyphens as some resources don’t allow it and append the abbreviation as a suffix
Folder structure
Create 2 Folders in your repository: .github and templates. Within .github, create another folder workflows. Push all changes to GitHub.
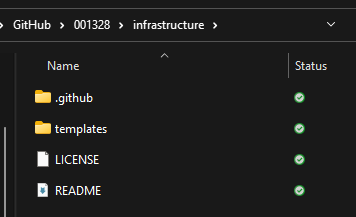
- The Folder .github will contain the yaml files which trigger the actual deployments.
- The Folder templates will the resource templates.
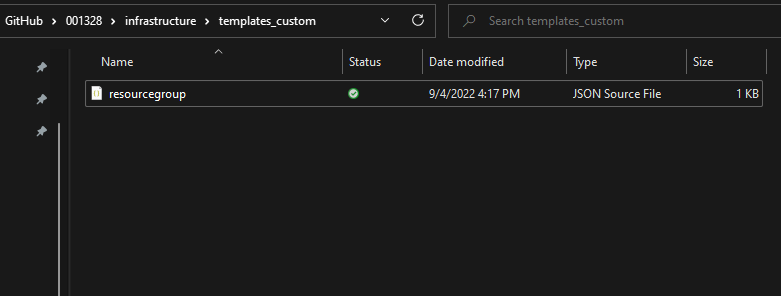
resource group template
Create a custom template for the resource group deployment by creating a new file in your preferred editor, like visual studio code. Enter the following code and save as resourcegroup.json in the folder templates.
Note: I recommend to use the location closest to you. For me it is eastus2. The guys from azuretracks have put together a nice list with all the abbreviations. Here is another list.
{
    "$schema": "https://schema.management.azure.com/schemas/2018-05-01/subscriptionDeploymentTemplate.json#",
    "contentVersion": "1.0.0.0",
    "parameters":
    {
        "ResourceGroupName": { "type": "string" }
    },
    "resources": [
        {
            "type": "Microsoft.Resources/resourceGroups",
            "apiVersion": "[providers('Microsoft.Resources','resourceGroups').apiVersions[0]]",
            "name": "[parameters('ResourceGroupName')]",
            "location": "eastus2"
        }
    ]
}
resource group workflow
Create a new file and paste the following code and save as resourcegroup.yaml
Note: the region is the location of the deployment within azure! If you change it after you already deployed the template, you will get an error in the template validation. If so, you need to remove the deployment via the azure shell $deployments = Get-AzManagementGroupDeployment -ManagementGroupId ES foreach ($deployment in $deployments) {Remove-AzManagementGroupDeployment -ManagementGroupId ES -Name $deployment.DeploymentName}
name: Resource Group Deployment
on: workflow_dispatch
jobs:
 build:
  runs-on: ubuntu-latest
  steps:
   - uses: actions/checkout@v2

   - name: Login to Azure
     uses: azure/login@v1.1
     with:
       creds: $

   - name: Create Resource Group
     uses: azure/arm-deploy@v1
     with:
       scope: subscription
       subscriptionId: $
       region: eastus2
       template: ./templates/resourcegroupdeployment.json
       parameters:
         ResourceGroupName=$
run the workflow
-
push everything to GitHub
-
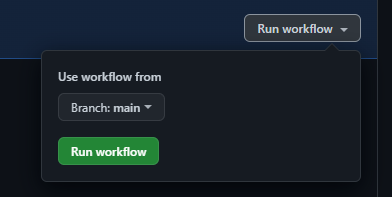
In GitHub, go to the tab Actions and Select the workflow Resource Group Deployment

-
Select Run workflow
-
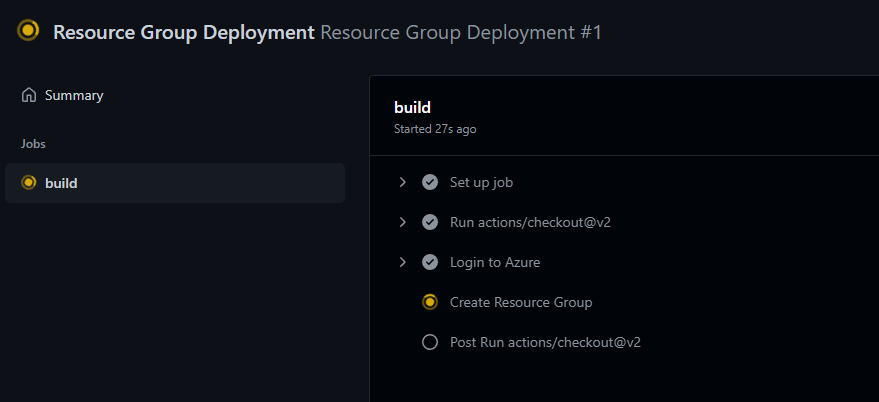
If you select the name of the workflow you can watch the build
-
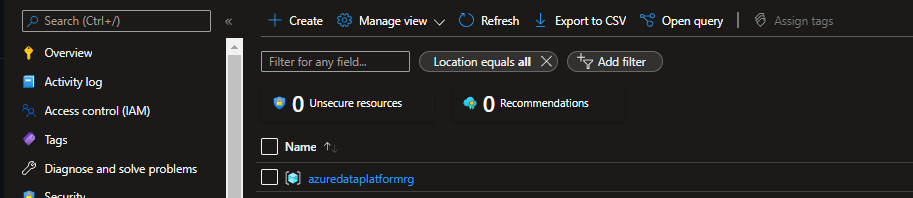
Once you see a green button you are done and can test if you see your new resource group!